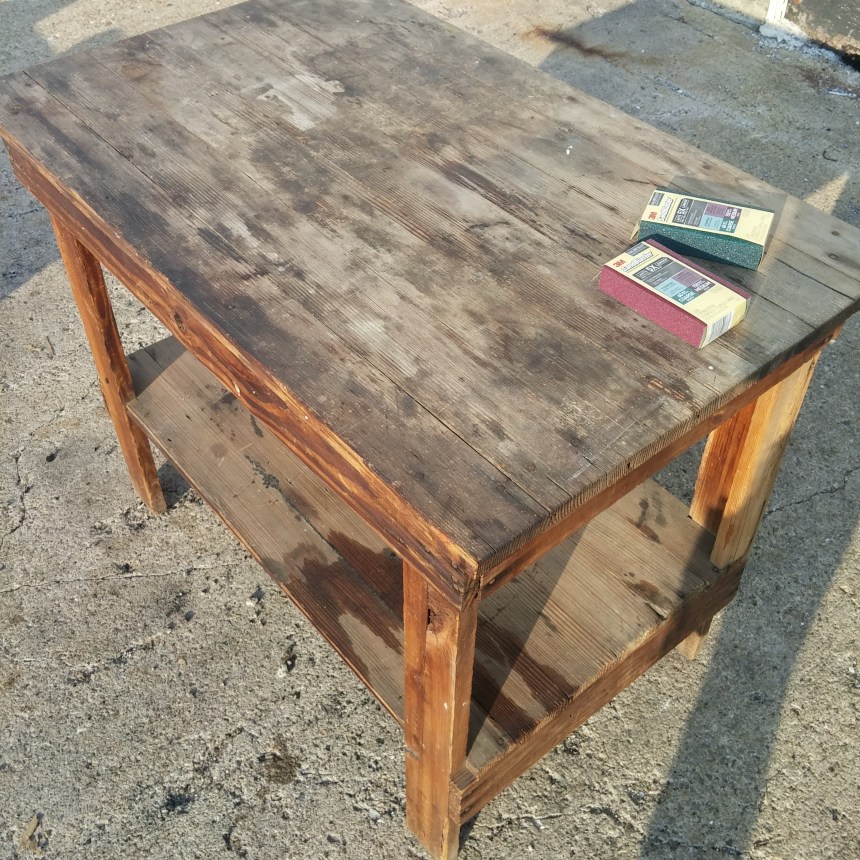
Thanks everyone for all the great suggestions. I paid $15 for this table to use as a staging area for food when cooking with the STOK Charcoal Drum grill.
Knowing the complete monkey I am with any DIY project I didn’t want to commit a lot of dough to the project and I didn’t want to spend $75 doing a complete restore of an old $15 yard sale table. The whole idea was to just try to preserve it for maybe a couple more years with it being left outdoors for three seasons.
Here was the original post where you can read the suggestions on how to treat the table-
I went and bought this stuff but I’m totally questioning if I should just sand it down roughly and wipe it down with an oil with some type of UV protection in it (if such product exists) or if its really so easy to sand it down and wipe it with a natural oil that I wouldn’t mind doing it once or twice a year. Help!!! I HAVE MAJOR DIY PARALYSIS!!!!!


I’m a complete idiot with handyman stuff and figure I’ll just mess it up if I try to do the Polyurethane.
Gonna go outside and start sanding and hope someone makes a convincing argumet for either going forward with the polyurethane spar helmsman or rubbing it down with some other type of oil so I can move forward without this anxiety and paralysis.
Know what’s funny? Ask me something about cameras or blogging or marketing and I’ll move forward on an initiative without a second of hesitation. as soon as it comes to wood or mechanical stuff and I turn into the village idiot.
So please everyone, LISTEN TO THE PARAMETERS_
I don’t want to spend a lot on paint or oil because it’s just an old yard sale find.
I want it to be quick and easy.
I mistakenly said I’d be using it for food prep but what I meant to say was that I was going to use it as a staging area for grilling. So no food will ever hit the surface. I don’t want it to be tacky.
I DO like a darker wood look like dark brown/ mahogany.
PLEASE PLEASE PLEASE Submit your suggestions keeping in mind that I don’t want to spend more than $30 on materials.
If anyone is bored and wants to stop down the dock to coach me a little or has a product laying around that they think I should use, I’ll be down the dock all day working
95 East Main Street
Gloucester MA
Captain Joe and Sons. Please stop down and give me some advice!
Update:
7:20AM
Just started sanding with the coarse sanding blocks and they work great. Not a lot of effort is scraping them right down

Update 7:44AM
Captain Pete Mondello stopped down with a sander. Even though the sanding blocks are super effective I’m gonna give the electric sander a go.

Girls came down the dock and I was ready to set the project aside but they wanted to help

8:20AM
Rough sand and damp rag drying complete. Kim Smith urging a stain first. Eric Lorden suggesting oil. Pete Mondello suggesting polyurethane
Currently at a standstill. Leaning toward the ease of wiping it down with oil every month or so.
9:22AM
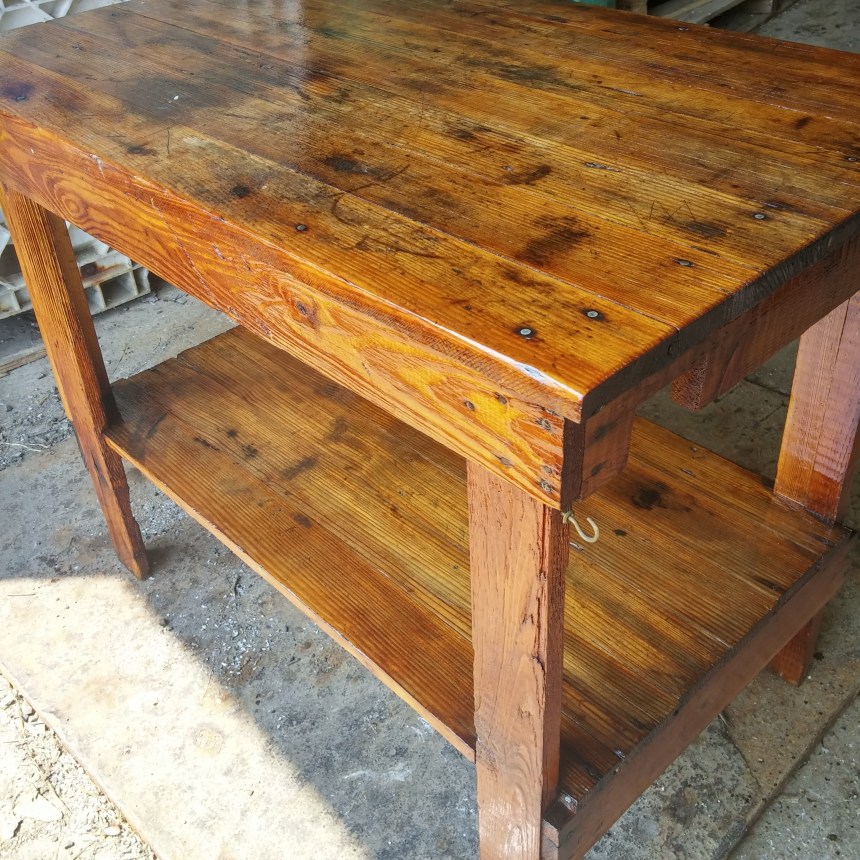
Spoke with Kim Smith just now who convinced me that if I like the imperfections in the wood and already have the Helmsman Spar Polyurethane, that I may as well go ahead and use it. Her points were that it will hold up better than just oil and I could just go to work on the table right away. She also said to set up out if the sun because the poly may bubble up.

10:06AM
Kimcame down the dock with some latex gloves and a baggie to keep the brush in between coats


11:04AM
Plugging away. Am I supposed to poly the underneath?

11:14AM
First coat is applied. No one has died yet. Nothing has blown up. The table is still intact and I’m very happy with the initial results.

Now I’ll probably wait til tomorrow to apply the next coat. I’ll lightly sand it and coat it again. Thanks to all the folks who have offered suggestions 🙂
And so it begins
Spread The GMG Love By Sharing With These Buttons: